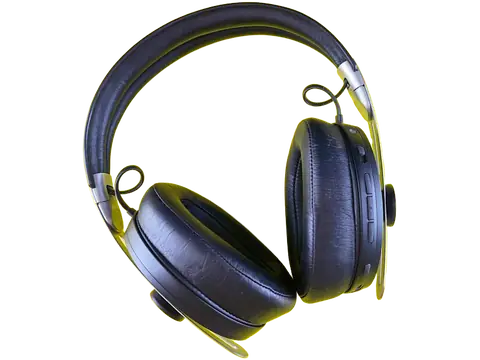
Product photographs often come from different places, cameras, or lighting conditions. A shared background and crop can make them easier to browse together. The aim is a consistent presentation that still shows what the buyer will receive.
Before you start
Photograph the full item, including handles, feet, and accessories that belong with it. Avoid cutting important edges off in the camera. For food photography, decide whether the plate is part of the subject; use Restore if you want to retain more of the plate.
Step by step
- Upload one representative photo and inspect the cutout at a closer zoom.
- Choose a white, neutral, or brand-color background. Keep the same color value for the rest of the set.
- Choose a canvas ratio and adjust Subject size and position to leave balanced margins.
- If useful, add a restrained shadow in Effects. Compare it with the source lighting and avoid a shadow that makes the item look suspended.
- Download a transparent master and a finished background version. In Bulk editing, apply the shared settings and review the remaining images.
Check the result
Glass, translucent packaging, lace, and shiny metal can need extra attention. Removing a background cannot recover hidden surfaces or reconstruct information missing from the source. Check labels, colors, and small accessories for accuracy.
Keep in mind
Keep alternate views of the actual product. A generated background is a setting, not proof of a product feature. Do not use styling to hide damage or imply included accessories that the listing does not contain.
Next: continue with the related guide.
Ready to try it? Open the Clearcut editor.
Start with your next image.
Create an account and verify your email to get 30 free credits every month: enough for 30 Fast images or 15 Fine images. Use them on the website or through the API.