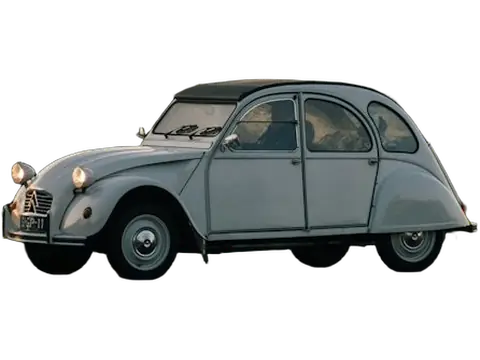
A clean setting makes a vehicle easier to inspect in a listing. Use background removal to simplify the surroundings, then keep the vehicle itself faithful to the original photograph. It is still important to provide real views that show condition and damage.
Before you start
Choose a photo with all wheels and the full body visible. Leave room around mirrors and the roof. Bright reflections, glass, fences, and tree branches crossing the vehicle can make the boundary harder to identify.
Step by step
- Upload the vehicle photo and inspect the wheel arches, mirrors, windows, and gaps around the wheels.
- Use the manual Cutout tools for small corrections. Smart Brush can help select a detected part, but review its mask before continuing.
- Choose a neutral color or an appropriate photo background. Keep the horizon and perspective consistent with the camera angle.
- In Effects, try Car shadow and keep its opacity subtle. A shadow should ground the tires rather than darken the whole vehicle.
- Download a full-resolution result and compare it with the original before publishing.
Check the result
Windows and paint retain reflections from the original setting. A replacement background will not automatically correct them. A plain background is often more convincing than a scene with a very different light direction or perspective.
Keep in mind
Keep and publish unedited condition photos as needed. Background editing should not conceal scratches, dents, warning lights, or other details a buyer needs to assess the vehicle.
Next: continue with the related guide.
Ready to try it? Open the Clearcut editor.
Start with your next image.
Create an account and verify your email to get 30 free credits every month: enough for 30 Fast images or 15 Fine images. Use them on the website or through the API.