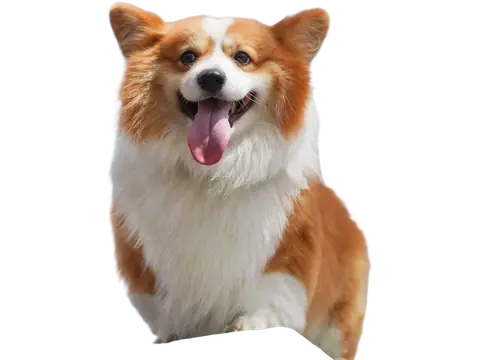
An animal cutout can become part of a pet portrait, a gift, or a simple graphic. Fur and whiskers are often the hardest part. A good result keeps a believable outline without leaving a thick rim of the old background.
Before you start
Pick a sharp photograph taken against a background that differs from the animal’s coat. Avoid heavily compressed screenshots. If paws, ears, or a tail are outside the original frame, background removal cannot bring them back.
Step by step
- Upload the photo and start with Fast mode. Consider a separate Fine detail pass for a difficult edge if you want to compare results.
- Zoom in around ears, whiskers, tail, and spaces between legs. Switch between the original and cutout.
- Use a small manual brush for isolated leftovers. Restore carefully; a broad stroke may restore the background along with the fur.
- Try both a light and a dark background to reveal halos. Choose the one that works with the coat and the lighting.
- Export a transparent PNG for a collage, or choose a color and export a finished portrait.
Check the result
Avoid smoothing every irregular edge into a solid line. Fur naturally has gaps and variation. Inspect the final image at normal viewing size as well as zoomed in, so you do not overcorrect details that already look natural.
Keep in mind
For a printable gift, check the pixel dimensions against the intended print size. Clearcut preserves available detail; removing the background does not make a small photo suitable for an unlimited-size print.
Next: continue with the related guide.
Ready to try it? Open the Clearcut editor.
Start with your next image.
Create an account and verify your email to get 30 free credits every month: enough for 30 Fast images or 15 Fine images. Use them on the website or through the API.