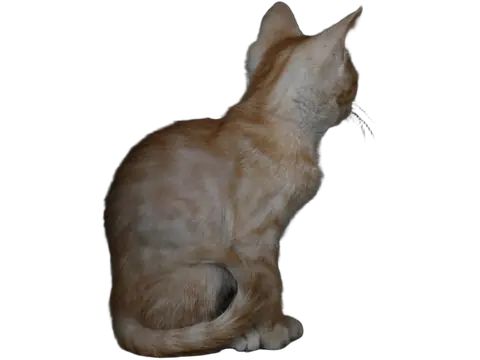
Automatic removal is the first pass. Manual Erase and Restore let you correct the mask while keeping the original image available. Erase hides pixels; Restore reveals them again. Neither tool invents missing details outside the source photograph.
Before you start
Wait for removal to finish, open Cutout, and zoom in on the area you want to correct. Choose a contrasting background so the edge is easy to see. Save a copy before making major changes if you want an independent backup.
Step by step
- Choose Erase to hide remaining background, or Restore to bring back a missing part of the subject.
- Leave Smart brush off for ordinary painting. Set a small brush near a detailed edge and work in short strokes.
- Use Undo if a stroke removes too much. Reduce the brush size before trying again.
- Turn Smart brush on when you want the model to follow a detected object or part. Paint a clear trail over the intended region, then wait for the selection.
- Inspect the result at normal size and close zoom before downloading.
Check the result
Smart Brush can extend beyond the trail to a detected boundary. A small stroke over a wheel may select the wheel; a broad stroke across a vehicle may select more of the vehicle. The result depends on the model and the source image, so use the manual brush for exact pixel-level control.
Keep in mind
Manual brush edits add no credits. Smart Brush costs one credit per request. Restoring an area can also restore its original background, so use smaller strokes near hair, fur, straps, and other fine edges.
Next: continue with the related guide.
Ready to try it? Open the Clearcut editor.
Start with your next image.
Create an account and verify your email to get 30 free credits every month: enough for 30 Fast images or 15 Fine images. Use them on the website or through the API.