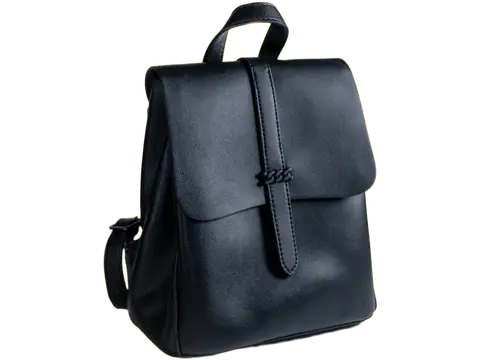
Bulk editing helps when you have a folder of product photos or a set of images for one project. It combines repeated steps, but the individual images still need review. Different crops and subjects will not always look right with identical placement settings.
Before you start
Sort your files into a small representative batch first. Each upload must meet the 22 MB file limit and your selected resolution allowance. Paid Fast removal uses one credit per image; Fine detail uses two. Guest free limits still apply to individual images within a batch.
Step by step
- Open Bulk editing or select multiple images in the uploader. Wait for the batch to finish processing.
- Inspect the results and choose one image as a reference for the shared look.
- Set a background color, canvas, and subject size. Apply settings to every image with the bulk controls.
- Review each image for clipping, uneven margins, missing parts, or a background that does not suit its lighting. Adjust exceptions individually.
- Choose Download all as ZIP for the finished set. The current ZIP limit is 100 finished images and 300 MB; split larger sets.
Check the result
Keep an eye on failed and queued images. A ZIP of completed images is not proof that every original request succeeded. Keep a list of your input filenames and compare it with the downloaded files before deleting your local working folder.
Keep in mind
For repeated automated jobs, use the API and explicit request IDs. The API docs describe queued responses, retries, and credit accounting. Published queue limits are not a promise that every large batch will finish immediately.
Next: continue with the related guide.
Ready to try it? Open the Clearcut editor.
Start with your next image.
Create an account and verify your email to get 30 free credits every month: enough for 30 Fast images or 15 Fine images. Use them on the website or through the API.